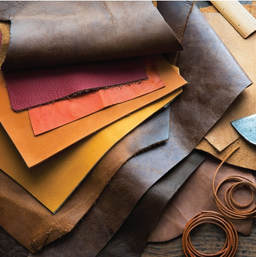
 As a textile material it’s said that the origins of leather are as old as civilization itself? A lot of writers credit its origins to different points in history, but perhaps the most impressive is actually found in the Bible. The Bible credits the origins of leather all the way back to Adam and Eve😮. After they sinned and were removed from the Garden of Eden it’s said that God made them garments from skin and clothed them. What type of skin? It doesn’t say, but I’m guessing it might have been a lamb or something similar🐑🐐. So regardless of what point in history you go back to, leather has been around a long time and will probably be around until the end of civilization itself. But what has made this material so appealing throughout the ages? Perhaps this blog is not intended to completely answer that question, but feel free to add to it with your comments below… So for now, let's talk about the pros and cons of crafting with leather. I think the best way to tackle this topic, is to simply look at the qualities of the material and it applications. In this blog I’m only going to be focusing on vegetable tanned leather, since this is what was used historically. Chrome tanned leather didn’t come along until the 1800’s. The Pros –
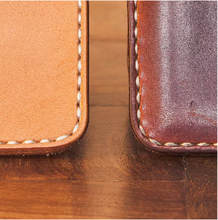
Cons –
 Blog post written by : Chris Fischer
7 Comments
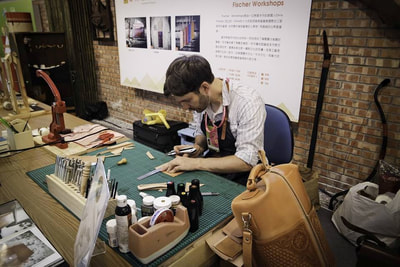
 I've always had a lot of hobbies but discovered leathercraft during a difficult time in my life. It was extremely therapeutic as well as rewarding and helped me focus on what I was doing creatively rather than on the problems around me. Over the years I've discovered a lot of people with a similar experience as mine. We all need a healthy outlet that does not involve looking at a screen😵 or being preoccupied with likes👍 on social media. One good friend and successful leather artisan once shared with me that prior to getting involved with leathercraft she was losing an ongoing battle with depression. She had been on medication and therapy for a while, but in spite was getting worse. Then one day someone introduced her to leathercrafting and suggested she give it a try. She immediately took to it and her condition began to rapidly improve. Within a short amount of time she was off her meds and living a healthy and productive lifestyle. Since then she's made a career out of her craft and has received multiple awards and honors for her work and contributions. 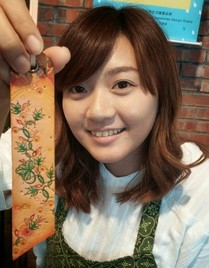 Healthy creative expression is not only a very important part of who we are, I believe it's also food for our souls. Its a beautiful way to share with others some of our finer qualities rather than some of the chaos we're fed through the media everyday.😩 You can't always take a vacation from stress in your life, but you can find opportunities to rest and recharge through creativity. There are also many reasons why I love to work with leather besides the fact that I find it relaxing and therapeutic. So, I don't want you to think that it's just something I do to chill out, it's also extremely rewarding... It's provided me with incredible opportunities to develop my talents into a profession and work with some of the most talented craftsman in the world. I love the strong sense of community that exists within the trade and the support that the community shares with one another. Leather is also perhaps one of the most versatile materials in the world and it's craft is as ancient as civilization itself. Leathercraft is a skill that just about anyone can learn and put to use in their lives, given the opportunity. Opportunities that Fischer Workshops is here to provide... Thanks, Chris✌ My 1st workshop in Taiwan before starting the Fischer Workshops Youtube Channel
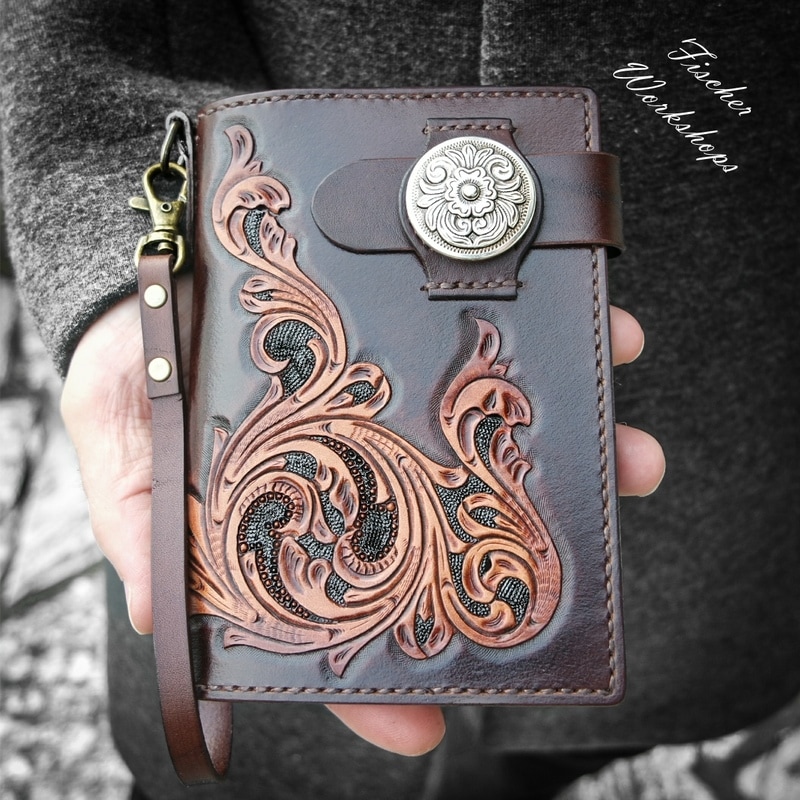
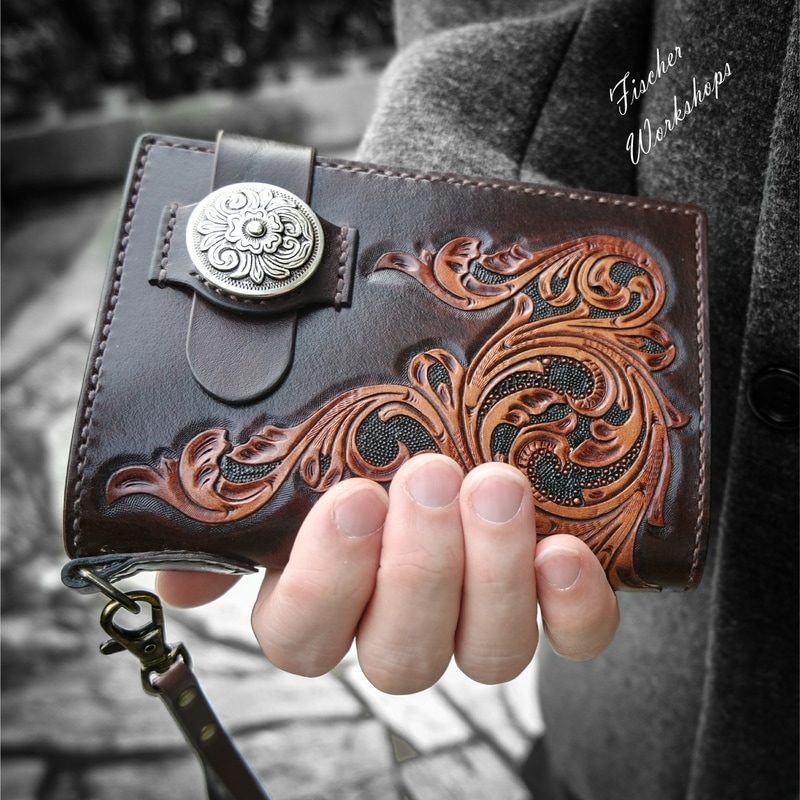
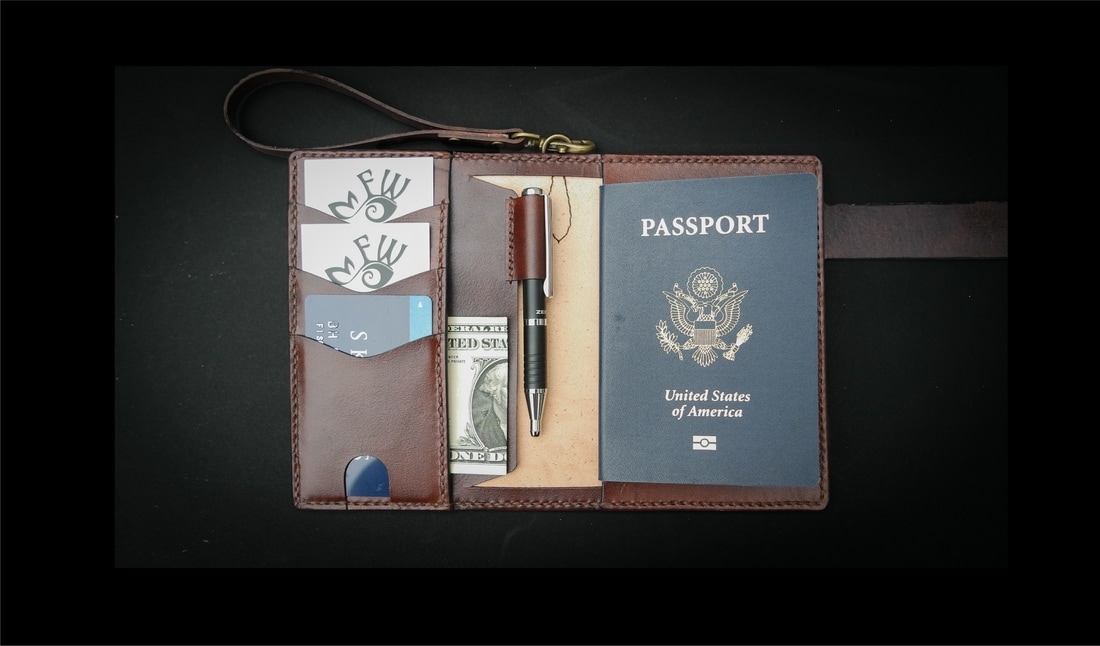
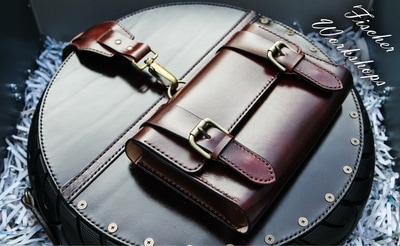
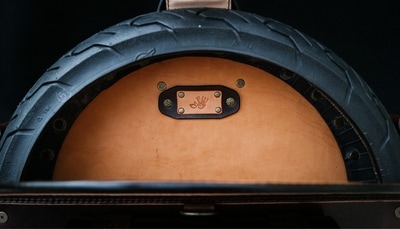
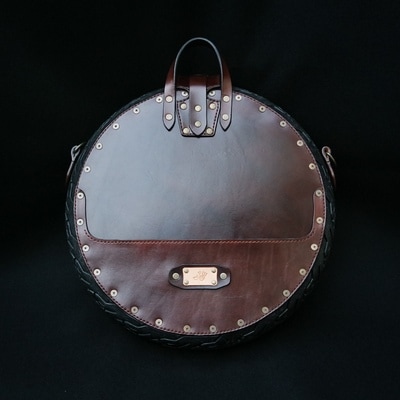
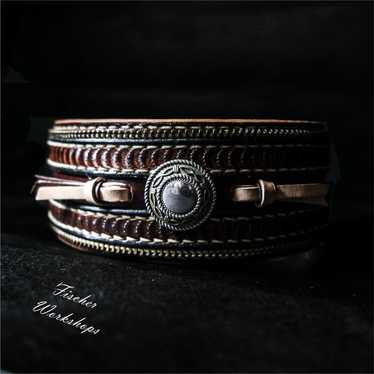
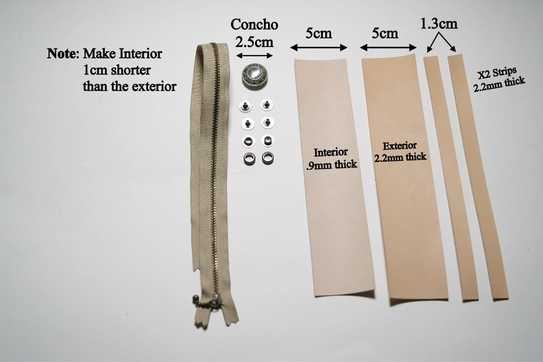
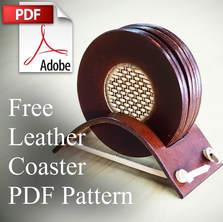 These handmade leather coasters are a simple and beautiful project that can be finished in as little at 1 -3 hours depending on the amount of detail you want to put into them. One of the things I love about making these is that I can be as creative as I want with the colors and artwork on the coasters. These are very easy to customize and make for a very special and eye-catching gift. For added style I have stamped a small basket weave design into the interior circle of each coaster. This simple design doesn't require a lot of experience with leather tooling and is something even those who are new to leather tooling can succeed at making. Although if you are completely new to leather tooling, then I would always recommend practicing on a scrap piece of leather until you get a feel for things before trying too stamp your basket weave on your finished pieces. To accompany this project I have published a step by step video tutorial on Youtube to guide you through the crafting process. I have also made this pattern available for free on my website at, www.fischerworkshops.com . The pattern file also comes with additional details you might find helpful with this project, such as leather types and thicknesses I used, along with tools and products I used when making mine. Click here to download the pattern Click on the image below to watch the tutorial 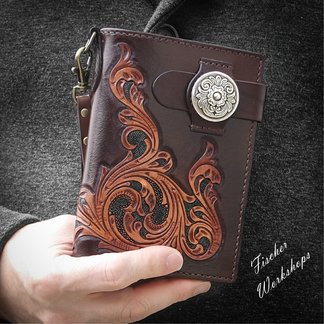 With this passport wallet I wanted to design a wallet that would be really useful and easy to use, while at the same time extremely elegant and eye-catching. The belt on the wallet easily and securely slides under the concho strap to open and close the wallet. I have made a detachable hand strap which comes in really handy when at the airport trying to hold onto your wallet while processing your tickets or going through security and you want to keep your hands free. For the interior design I have included 3 card slots with an extra pocket behind the slots. The bottom slot also has a finger slot to make it easier to remove a larger card with. I have also included a pen loop that fits firmly and perfectly into the center of the wallet, so you never have to look for a pen when going through customs or filling out paperwork on the plane. The pattern pack contains: - all the leather patterns ready to print and use (with help on printing) - details on what type thickness of leather to use - artistic tooling pattern that can be traced onto leather - what tools and hardware are needed (also with pictures) Click here to go to the pattern download Click here to purchase this handmade item Specifications: Wallet Dimensoins 11 x 15.4cm Difficulty: Lower - Intermediate Accompanying this project is a 30 minute full HD video where I show you how to make the wallet in full and give extra tips along the way, this can be viewed here: 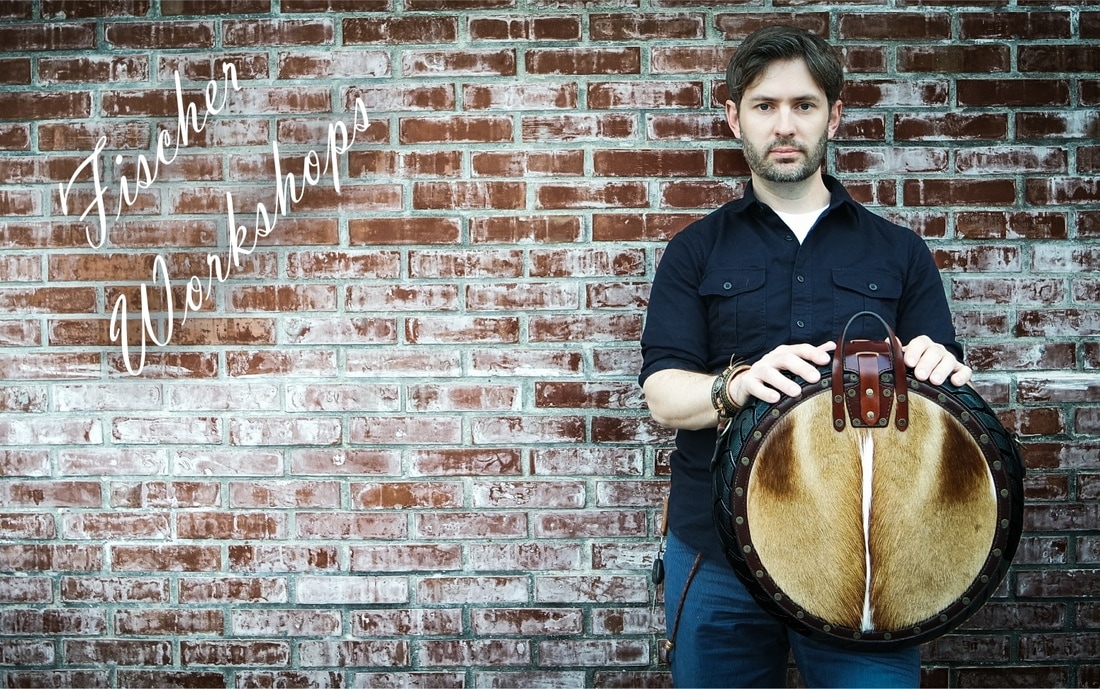 This bag was designed for an exhibition in Taiwan. I wanted to design a bag that I thought reflected something unique about Taiwan and my experiences living here for the past 20 years. One of the 1st things about Taiwan that grabbed my attention the 1st day I arrived was the swarm of motorbikes that covered the streets.  Motorbikes or scooters are by far the preferred form of transportation throughout Taiwan and they vastly outnumber all other forms of transportation on the densely-populated Island. These compact modes of transportation are favored for their convenience in parking and inexpensive maintenance. But as convenient as they are, they are also quite dangerous and it's not uncommon to see accidents daily. I myself have been in 2 over the years, resulting in breaking a shoulder in each accident. I have since thrown in the towel and now drive a car with lots of airbags..! Regardless, these bikes have left a deep impression on my life and so I decided to create a luxury bag built around the properties of a scooter tire. 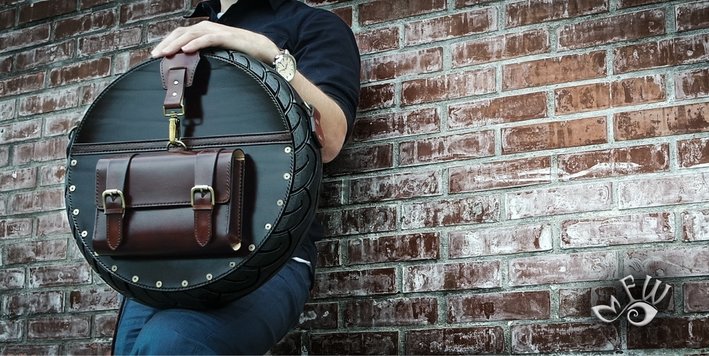 Coming up with a design I really liked that would work well with the shape and weight of the tire was challenging at 1st, but eventually the concept came to life. The 1st challenge I had starting out was finding the right tire for the job. So, I went to a large motorbike shop and to my surprise after hearing about my plans to design a bag out of a tire they began to enthusiastically bring out every tire they had in their collection for me to choose from. This made finding the right tire a whole lot easier and they have my sincerest appreciation..! 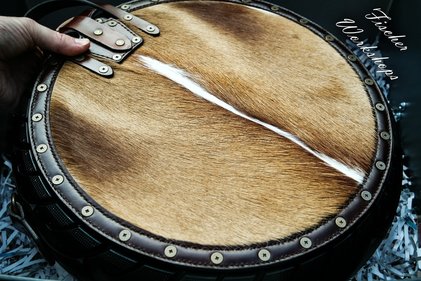 To make this project a piece of art and not just a bag I wanted to incorporate the use of a variety of exotic leathers, such as horse leather, gazelle fur, and fine Italian tanned leathers on different components of the bag to give it a richly exotic look and feel. To lighten the weight of the bag I have removed any unnecessary rubber from the tire and have used extra thick (3mm thick) Leather to provide the bag with strength and support for the tires shape and weight. Every component you see on the bag was cut, dyed, and stitched together by hand using only traditional techniques... The end result was better than I could have expected! 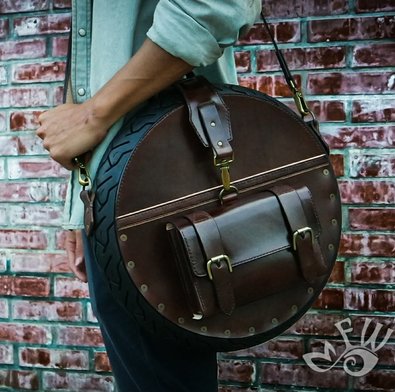 After spending about 2 months coming up with a design I spent about another 50 -60 hours to build the bag itself! Since then I have come up with 3 distinct designs for the tire bag for both larger and smaller tires. If you'd like to see more pictures of this bag and some of my other leather artwork and designs, please visit my page at www.fischerworkshops.com Thanks!!! Chinese Translation - 這個包包是為台灣的一個展覽而設計的,我想設計一個能反映台灣的獨特及我在這生活20年經歷的包包。抵達台灣的第一天抓住我注意力的第一件事是滿街的摩托車,摩托車是台灣最受歡迎的交通工具,在人口密集的島嶼上,其使用率遠遠超過所有其他的交通工具,這種小型的交通工具因方便停車和廉價的維修費而受到大眾青睞,它雖方便但也非常危險,每天看到交通事故並不稀奇。在過去這些年我自己就發生二次事故,每次各斷一根肩膀鎖骨,在那之後我投降了,現在開車車上還有好幾個安全氣囊!無論如何,這些摩托車在我的生活留下了深刻的印象,所以我決定以機車輪胎來創作一個豪華包包。我設計了一款個人非常喜歡且能配合輪胎形狀的包包,首先面對的挑戰即輪胎的重量,但最終這個作品設計好了。我的第一個挑戰是找到適合的輪胎,所以,我去了一個大型摩托車店,我很驚訝當他們聽到我要用輪胎做一個包包時,他們熱情地展示店內所有的輪胎供我選擇,這使找到一個合適的輪胎變得很容易,我真心的感謝他們的幫忙。為了使這個作品成為一件藝術品,而不是僅僅一個包包,我使用各種特別的皮革,如馬皮,羚羊毛皮和精緻的義大利鞣製皮革在包包的不同位置,好讓這個包包有與眾不同的外觀和感覺。為了減輕包包的重量,我從輪胎上除去任何不必要的橡膠,並使用較厚(3mm)的皮革來加強支持輪胎的形狀和重量。你在包包上看到的每一片皮,從切割、染色到傳統工法縫合全以手工完成。最終的成果比我預期的更好!我花了大約2個月的時間構思設計,又花了50-60小時製作。從那時起我共設計了三種不同的大小輪胎包。如果你想看到更多這個輪胎包的圖片和一些其他皮革藝術品和設計,請參閱我的網頁www.fischerworkshops.com謝謝! 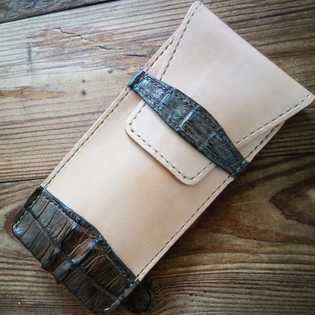 Using exotic leather on your leatherwork can give your craft a very eye-catching look and add value and interest in what you are making. In this video tutorial see how I use alligator skin to give a simple pencil case a whole new look and feel. If alligator skin is not your thing, then you could use a wide variety of other leather types or materials in it's place to make it unique. Regardless, what I love about handmade leather goods is that in the end you have something that will most likely be with you for a lifetime and carry a story with it. If you'd like to try your hand and making this project a printable PDF pattern with instructions and materials I used to make this project can be downloaded from my website at www.fischerworkshops.com I'd love to see what kind of customizations of this project you are able to come up with. Feel free to post your results on my facebook page at www.facebook.com/fischerworkshops See how it's made here:  This PDF pattern download can be conveniently printed to spec onto any A4 sized paper. A list of products and tools used in this project are also included in the pattern download. You will also need Adobe reader in order to print this file. If you don't already have this free software on your computer please follow this link to install https://get.adobe.com/reader 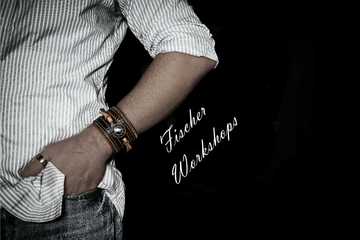 I love working with leather! It's such a versatile material and offers you so many creative options to work with. Even with something as simple and small as a leather cuff you can really enjoy a variety of ideas to play with. So when I started working on this cuff I wanted to play with as much detail as possible with the space I had. So I added several strips of tooled leather, tassels, a zipper, and a concho to give my cuff a more rich and eye-catching look. To illustrate the steps I went through to make this cuff I have posted a video tutorial to guide you through the process of making your own. I also have a free PDF pattern with a detailed list of tools and products I used to make this project at www.fischerworkshops.com. I hope you enjoy the tutorial and don't forget to check out some of my other video tutorials at Fischer Workshops youtube channel. THANKS AND ENJOY!!! Materials I used to make the cuff Visit Fischer Workshops at - www.fischerworkshops.com
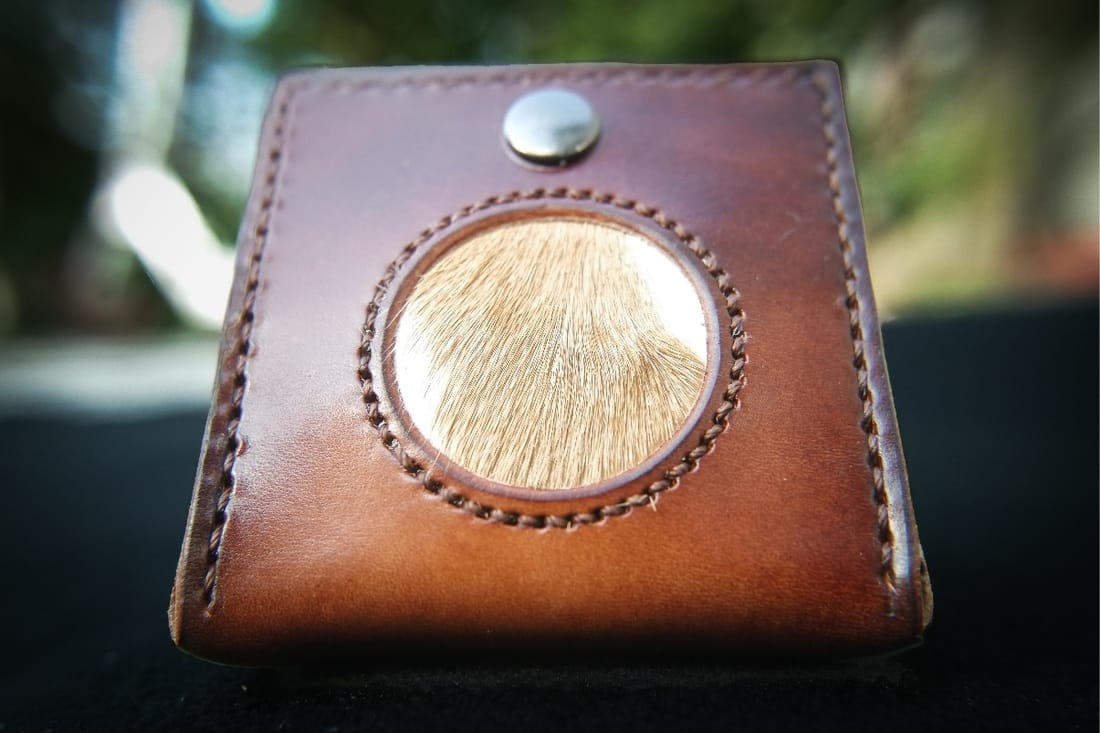
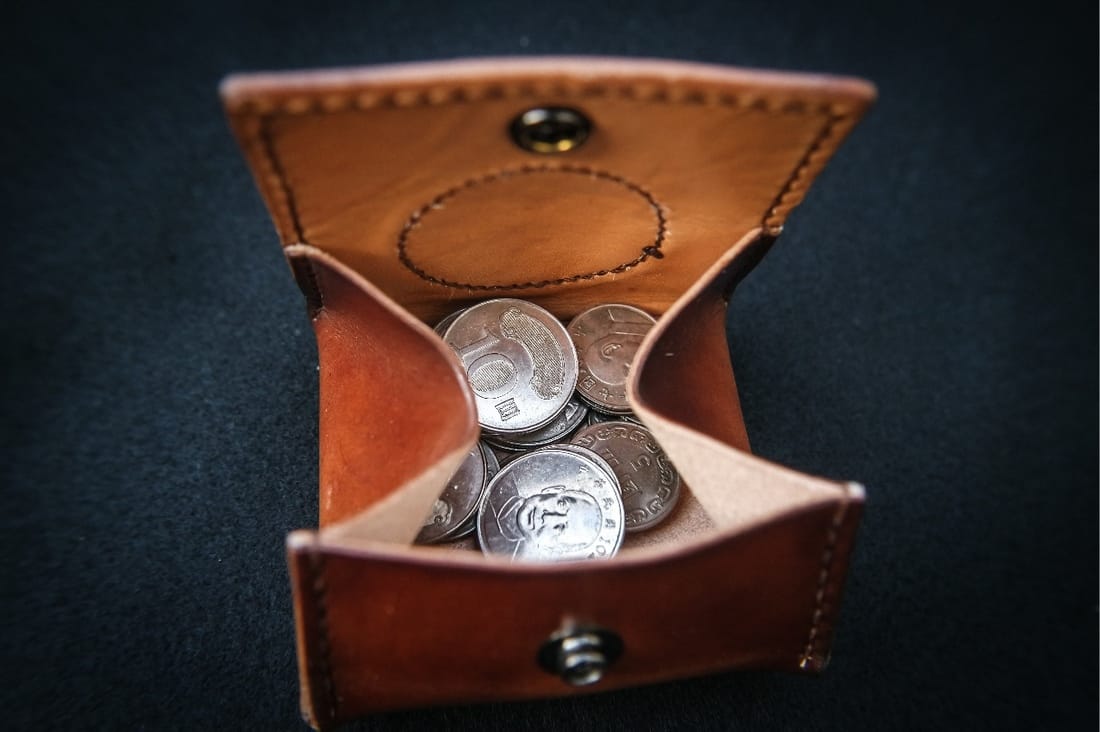
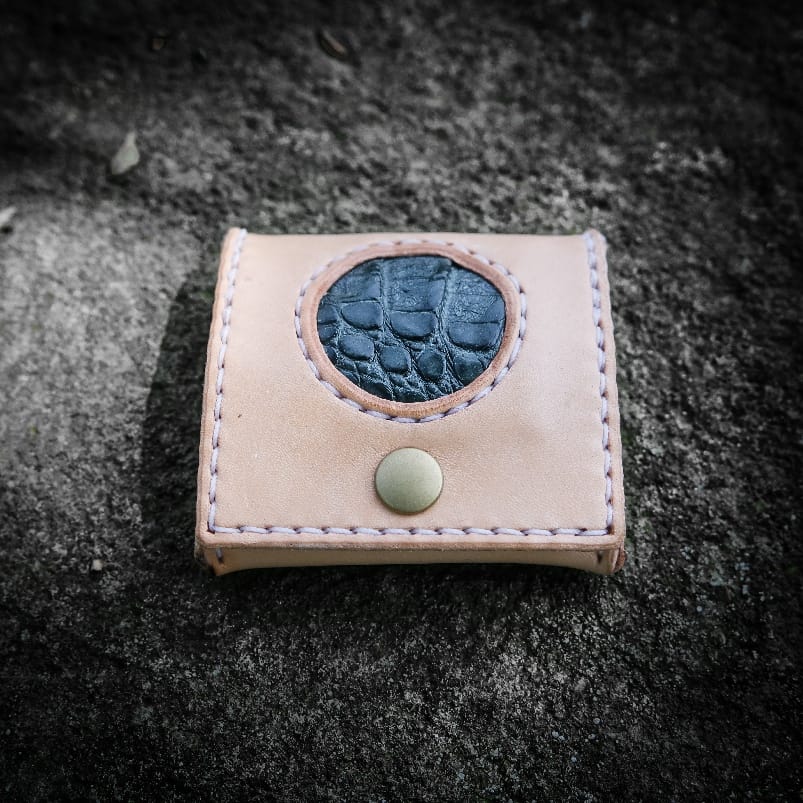
email - [email protected] Facebook - https://www.facebook.com/fischerworkshops 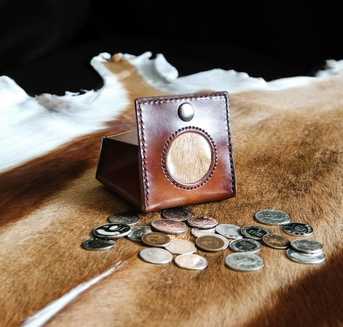 This popular folding coin purse design makes for a great leather project. Small enough to conveniently store in your pocket or purse but able to store a large amount of coins in. It also opens up nice and wide so you can get what you need quickly and easily. To add value and beauty to the purse I have used several types of exotic leather for aesthetics through the circular cutout of the purse frame. I have used both alligator skin and gazelle hide as examples for this tutorial. A PDF pattern with a detailed list of leather types, tools, and products used in this project can be downloaded from Fischer Workshops. Just click on the following link to be directed to the download page... Exotic Leather PDF Pattern Download I have also published a video tutorial to demonstrate the step by step process I go through in making the purse. The video is only 10 minutes long, but it took me about 2 hours to complete this project. I chose to stain the leather by hand which is the longest process in making the purse. I suppose if you bought prestained leather you could finish this project in about an hour. To see the video just click on the link below... Thanks and Enjoy! Gazelle hide Alligator Skin Additional Links:
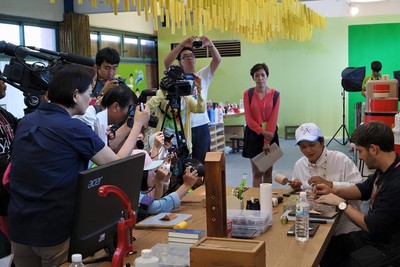
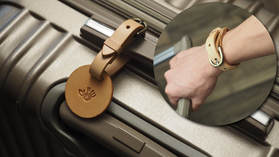
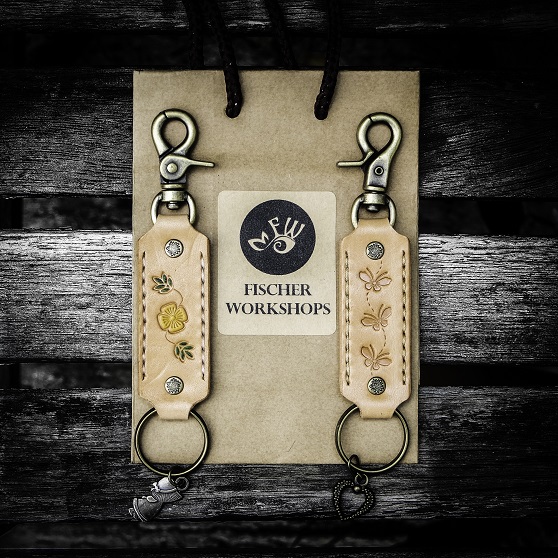
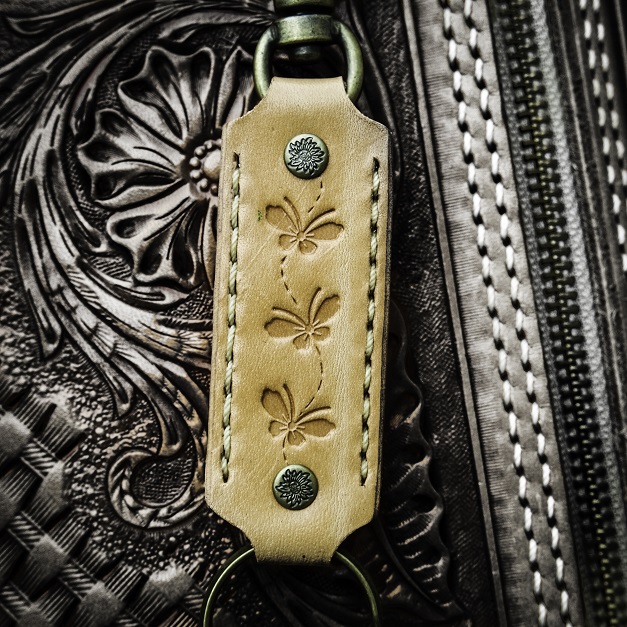
Website and store: www.fischerworkshops.com Email: [email protected] facebook: https://www.facebook.com/fischerworkshops Google plus: https://plus.google.com/collection/Ir3LnB 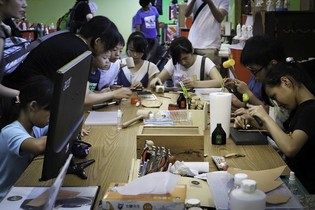 I originally came up with this keychain design (Free Pattern Download) for a leathercraft exhibition in Taiwan. Alongside introducing my leatherwork I wanted to afford people the opportunity to make something that would expose them to several aspects of leather craft that would be rewarding and not overwhelmingly difficult. The keychain and other elements of the exhibition turned out to be a huge success and attracted all kinds of attention. Whether you are a seasoned leather worker or just getting started in the craft you can't go wrong with projects like these. Another bonus to small projects like these is that the cost to make one is fairly reasonable. You only need a small amount of leather, a swivel snap, key ring, rivets, or screws. How much it costs just depend really on the type of hardware you choose. 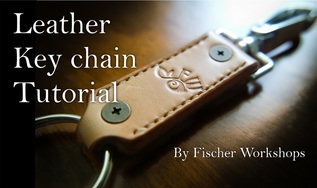 For the youtube tutorial I posted for this particular keychain I selected some quality hardware to add to the beauty of the leather. Although as you can see in some of the pictures I have also used several types of swivel snaps to adjorn my keychains, but I personally think the more you spend for quality snaps the better your project will look... With that said I spent about $6 USD for the snap, which is by far the most expensive material used in the project. I have seen designer keychains in department stores with much cheaper materials sell of as much as $100USD. So I highly recommend to spend a little extra for your hardware as it can dramatically add to the value of what you made. 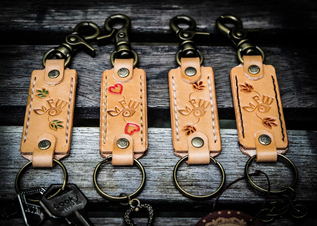 In the video I used extra thick leather (3mm) for a more bold looking keychain, although a variety of leather thickness' could be considered, but I wouldn't recommend going too thin making the keychain flimsy. With both pieces together the center is 6mm thick and the ends 9mm thick. Both tabs can be attached with either a rivet or screws. Hardware, screws/rivets, and accessories needed for a project like this should be easy to find at most leather supply stores, or online. Along with the pattern I have provided I also list some of the tools and materials you might need in completing this project. 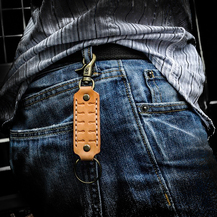 If you have a business logo, the keychain can also be a great way to share your brand with others. There is also enough space on this pattern to stamp in someone's name, or to apply a little leather tooling as seen in some of the pics... |
Author 作者Chris Fischer Archives
July 2018
Categories |









 RSS Feed
